
No worries if you have a lot of invoices records to import into the system in one shot, this tutorial is to assist you step by step on how to get your invoices issued in just a minute!
NOTE
This function is currently a Beta feature.
Step by step tutorial to import invoices data with Excel file
1. Proceed to Import Data located at the side menu.

2. Download the sample Excel file by clicking on the Download Sample button. The sample Excel file contains sample data for you to modify according to your needs.
3. Select or drag and drop your modified excel file into the field area.
4. Click Import button to import your data into the system.
5. The imported invoices records are by default in Draft status.
Guidelines on the Excel file fields
1. customer_id
You may find the customer_id of your customer by referring to the screenshot below.
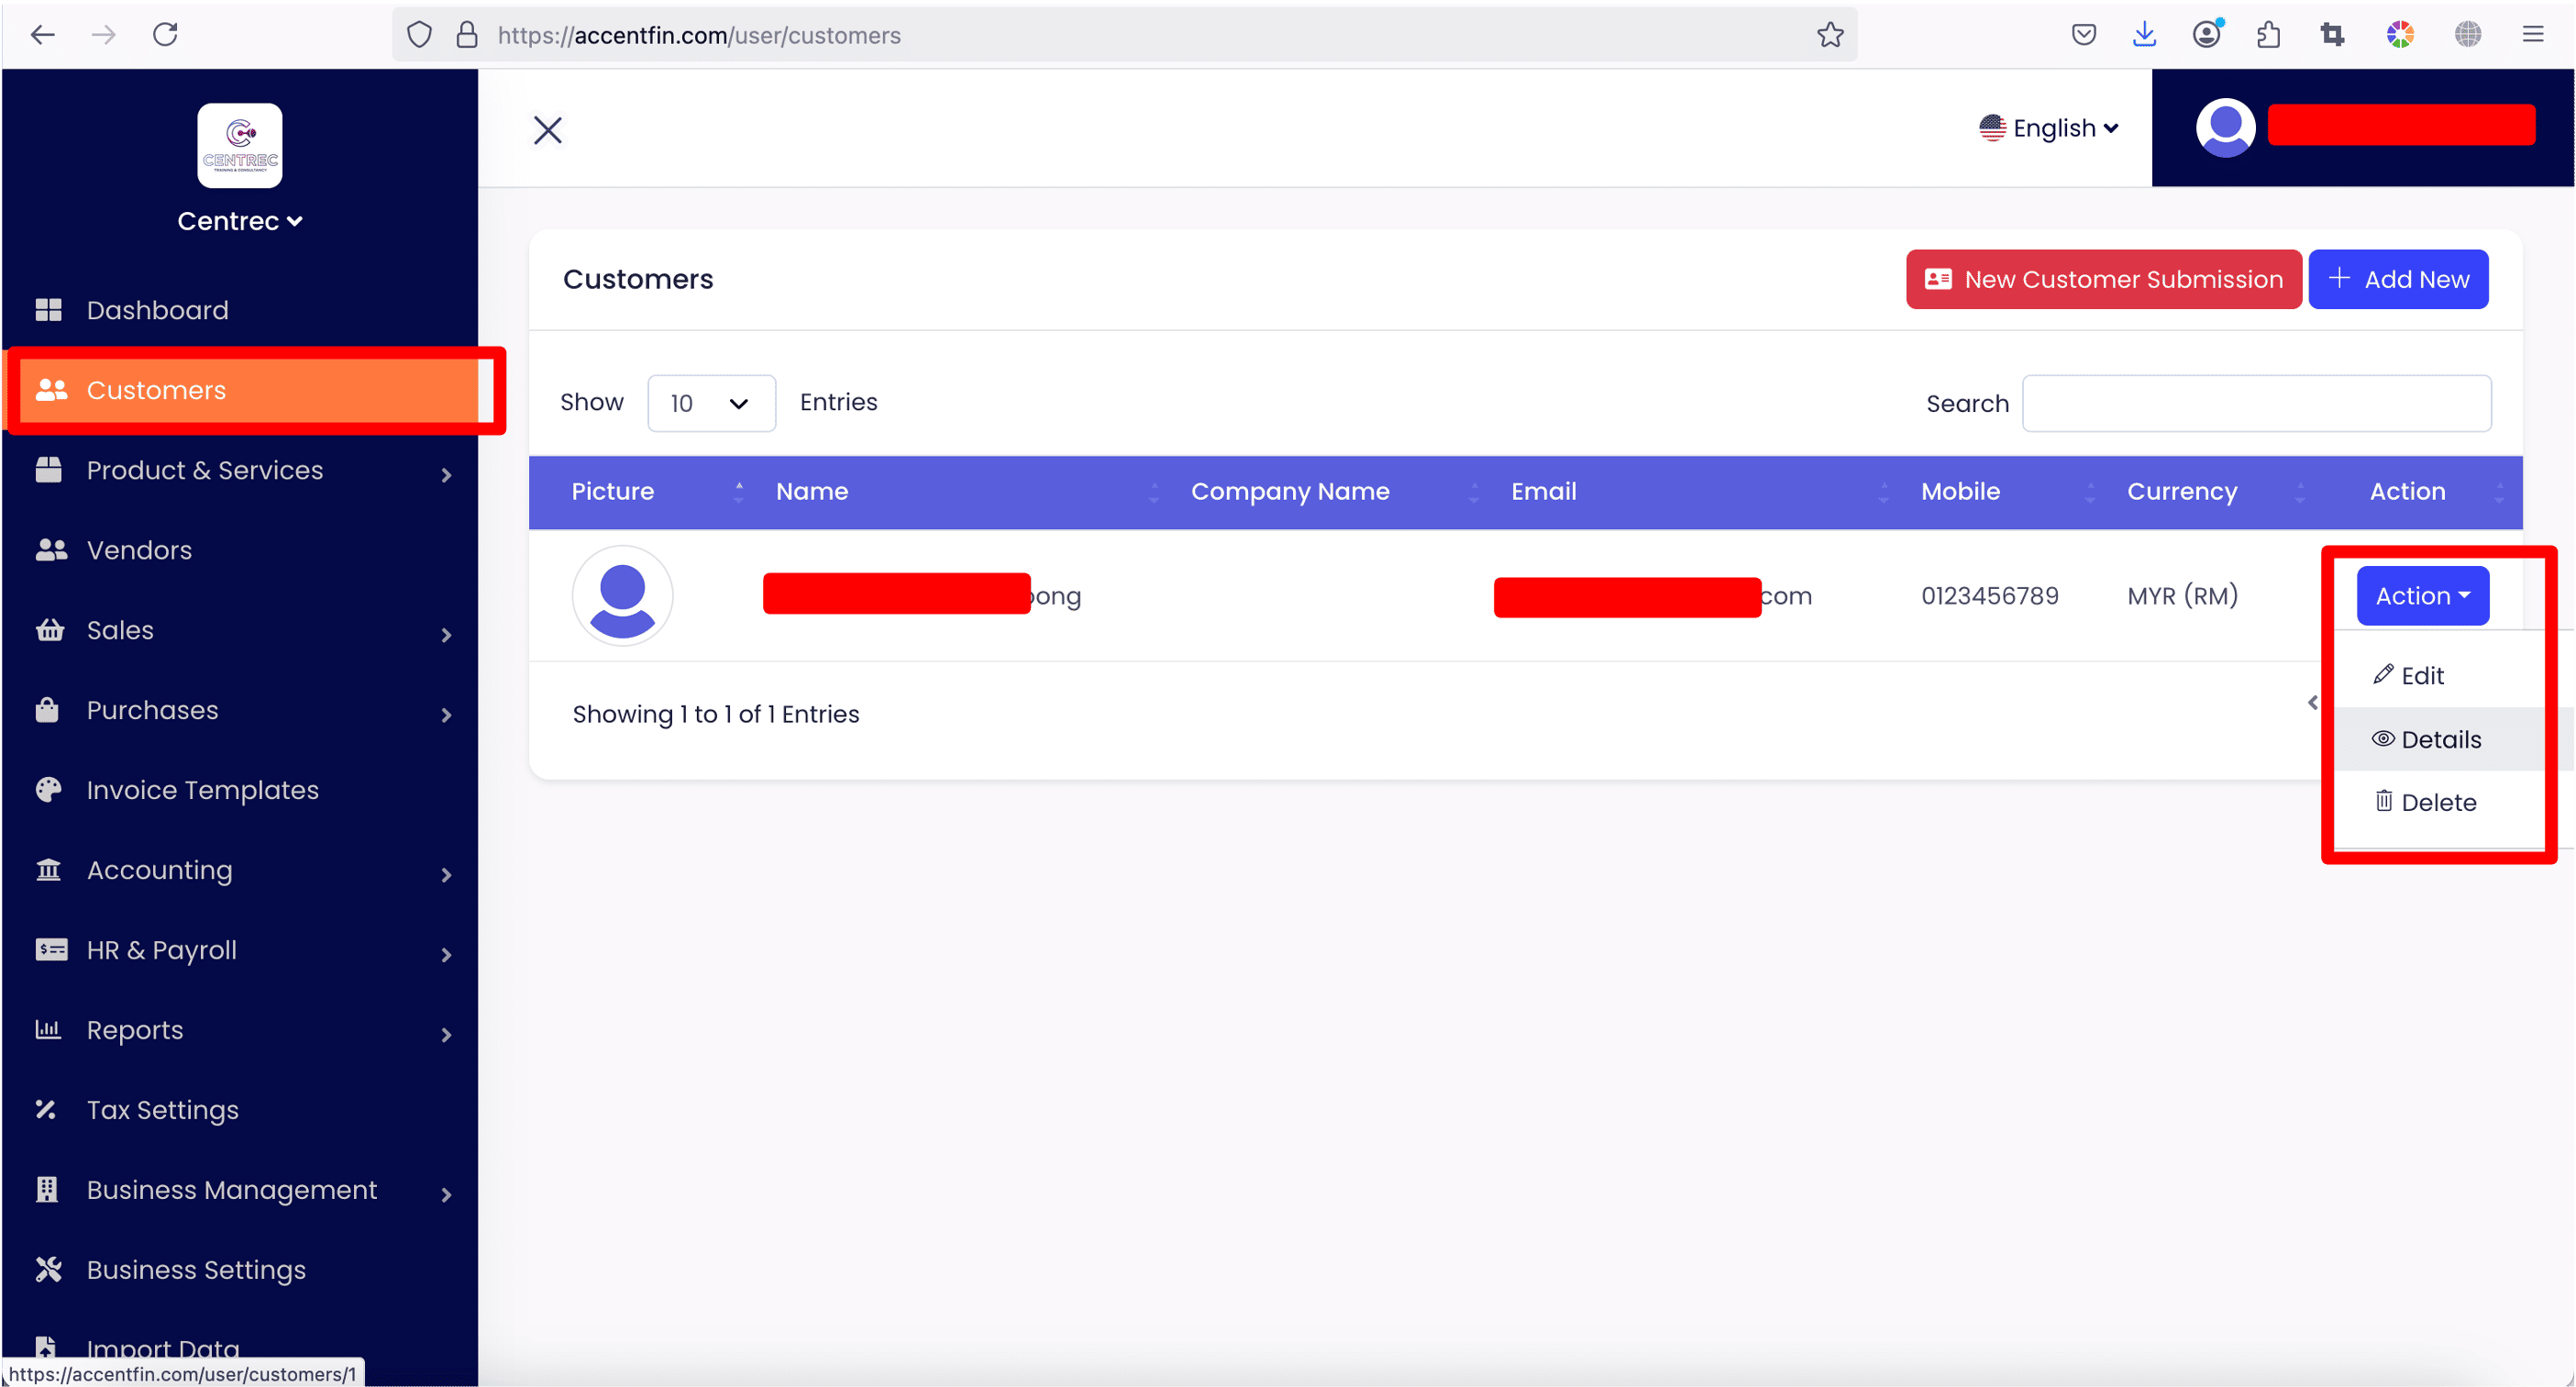
- Proceed to Customers section located at the side menu.
- Select your desired customer record, click on the Action dropdown button, click on Details to open the customer details record.

- Look at the URL of the customer details page.
- The customer's customer_id is located at the end of the URL. In this case, the number "1" is the customer_id of this customer.
NOTE
For consolidated invoice record, the customer_id field value should put as 0.
2. delivery_id
delivery_id is as same as customer_id, you may go through the same process as illustrated above to look for the id of your customer (that you will be shipping / delivering the goods to), note that your shipping / delivering customer might be different from your billing customer.
NOTE
For consolidated invoice record, the delivery_id field value should leave it empty.
3. title - the title of your invoice document.
4. invoice_number - unique number of your invoice document.
5. order_number - order number for your invoice (optional).
6. invoice_date - invoice document's date.
7. due_date - invoice document's due date.
8. discount_value - the amount of discount.
9. discount_type - 0 stands for percentage, 1 stands for fixed number discount.
10. template - the id for invoice template, refer to the screenshots below to further understand how to obtain invoice template's id. Or refer to this tutorial for more info on Invoice Template (link).
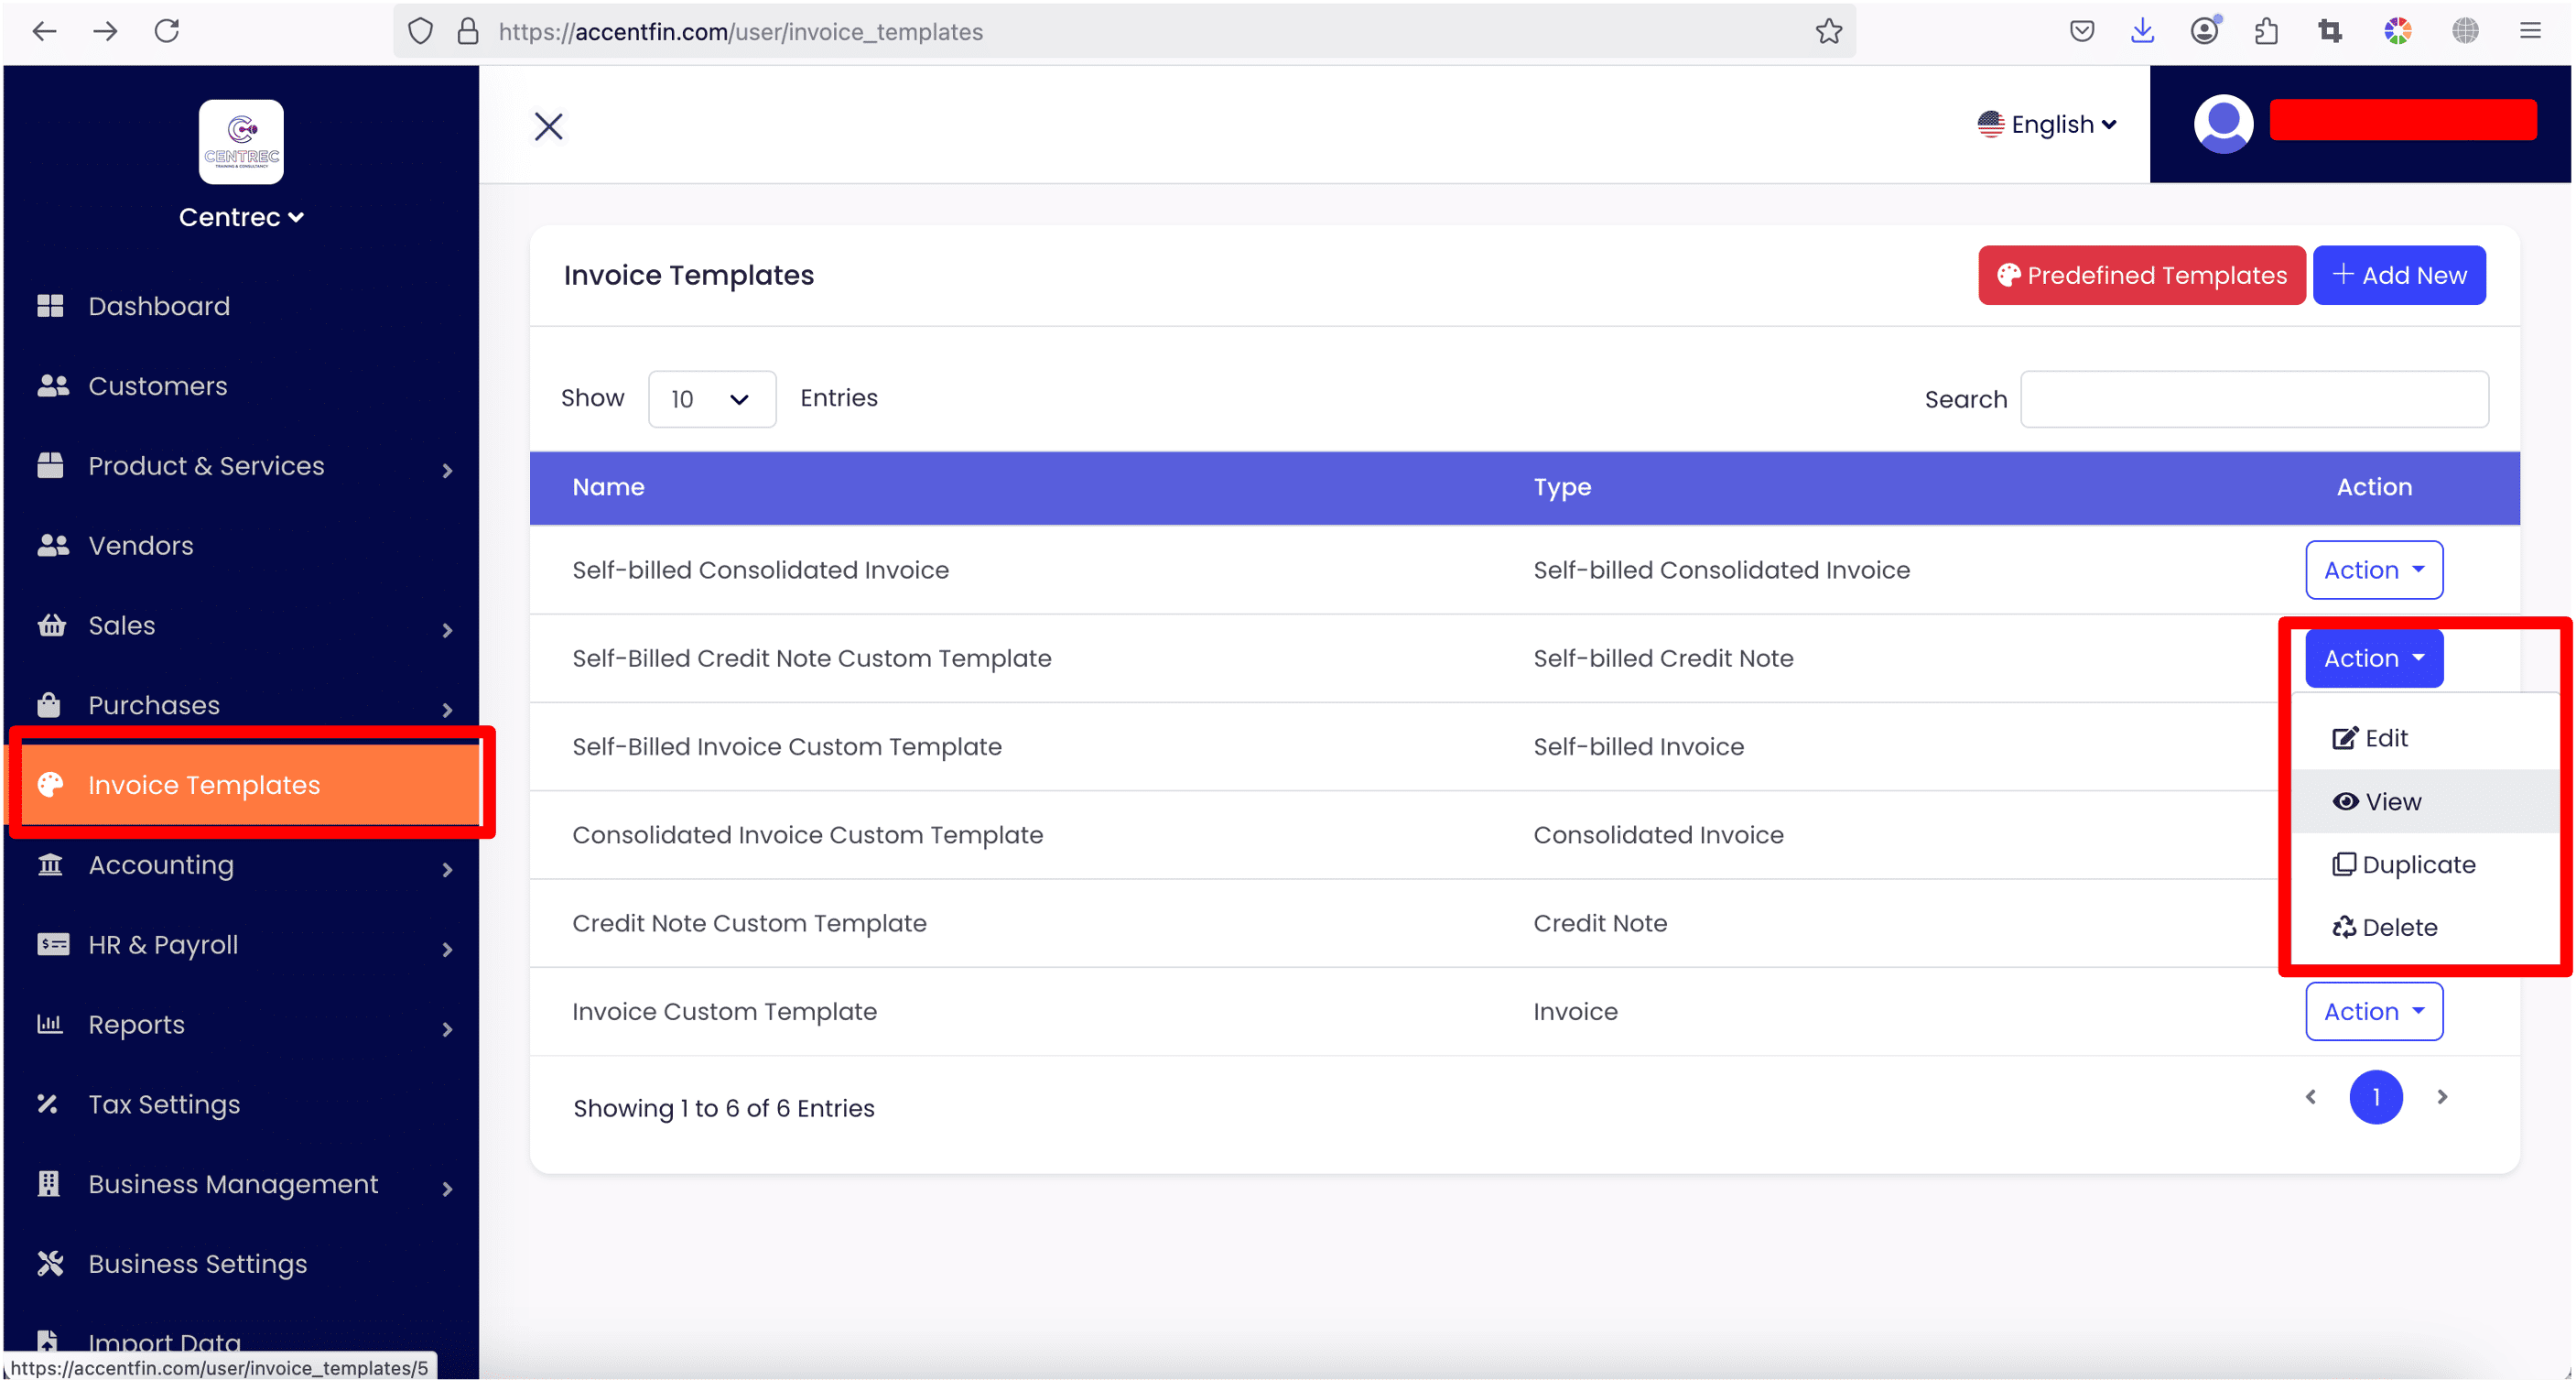
- Proceed to Invoice Templates located at the side menu.
- Here shows all the invoice templates you have created previously, look for your desired invoice template record, click on the Action dropdown button, click on the View button to view the invoice template's details.

- Look at the URL of the invoice template details page.
- The invoice template's id is located at the end of the URL. In this case, the number "5" is the invoice template id, get this id and put it inside the template field in your Excel.
11. note - optional note for your invoice document.
12. footer - optional footer notes for your invoice document.
13. link_invoice - if the invoice document you are trying to issue in this Excel record is a Credit Note, Debit Note or Refund Note, you need to link these notes to an existing invoice (required by LHDN MyInvois) in order to know the notes are referring and affecting which existing invoice. To link an existing invoice, you need to fill in the existing invoice's UUID where you can find it by following the screenshots below.

- Proceed to Sales > Invoices, here shows all the invoices you have created before.
- Select your desired invoice record, click on the Action dropdown button, click on Preview button to view the invoice record's details.

- If your invoice document has been submitted to LHDN server (MyInvois portal) and has been validated (shows Valid), you will see a line stating LHDN E-invoice UUID, click on the alphanumeric string to copy the invoice's UUID.
- You may learn how to submit the invoice document to LHDN server and how to validate them by referring to this tutorial (link).
- Then you can use the invoice's UUID you have copied to fill into the Excel field link_invoice.
14. product_id
You can find the product's id by following the screenshots below.

- Proceed to Products & Services > Products & Services located at the side menu.
- Select the product record you desired, click on the Action dropdown button, click on the View button to view product's details.

- Look at the URL of the product details page.
- The product's id is located at the end of the URL. In this case, the number "9" is the product's id. You may use this product id to fill into the product_id Excel field.
15. product_name - you may use back the same product name or you can change it according to your needs.
16. description - optional product description.
17. class_code - each product item inside the invoice document should have a class_code linked to it (as required by MyInvois portal). Please refer to this link for the list of classification codes accepted by MyInvois portal.
NOTE
For consolidated invoice record, the class_code field value must be 004. Vice versa, if the invoice record is not a consolidated invoice, the class_code field value should not be 004.
18. quantity - item quantity.
19. unit_cost - item's unit cost.
20. tax_id - you may find the tax's id by referring to the screenshots below.

- Proceed to Tax Settings located at the side menu.
- Here shows all the taxes you have created previously.
- Each tax's id is listed in the table under ID column.
- Copy the tax's id and put into the tax_id Excel field.
- You can apply several taxes onto a single product item by putting "," to separate the taxes ids. For example: 1,2
21. exempted_tax_id - for the taxes that should be exempted on the product item, you may fill in the tax id into this Excel field, you may also exempt a several taxes by putting "," to separate the exempted taxes ids. For example: 1,2
22. exempted_tax_reason - for every tax being exempted, you are required to provide reason to it (as required by MyInvois portal). If you are trying to exempt a few taxes, please ensure that the reasons are separated by the symbol "|". For example: Sample exemption reason 1.|Sample exemption reason 2.
Comments (0)